A new door should make your home more comfortable, secure, and energy efficient, but even a high-quality door will fail if it isn’t installed correctly. Drafts, sticking, water leaks, and rising energy bills often trace back to installation errors rather than the door itself.
Here are the most common door installation mistakes, and how to avoid them.
1. Skipping Precise Measurements
Measuring is the foundation of every successful door installation. Even a small miscalculation can leave gaps around the frame or make the door bind against the jamb.
What goes wrong:
- Measuring only one point of the opening instead of the width and height at several spots
- Ignoring that older homes settle, leaving openings that aren’t perfectly square
- Confusing the door slab size with the full frame size
The fix: Measure the width at the top, middle, and bottom, and the height on both sides. Use the smallest measurement, and check that the opening is plumb and level before ordering anything. This is where custom door services can pay off. For odd-sized or out-of-square openings, a door built to your exact dimensions eliminates the guesswork that causes gaps.
2. Failing to Level and Plumb the Frame
If the frame isn’t perfectly level and plumb, the door will never seal or swing correctly. A frame that’s even slightly off can lead to:
- Doors that swing open or closed on their own
- Uneven gaps along the top or sides
- Latches and deadbolts that don’t line up
- Persistent drafts along the weatherstripping
The fix: Use a long level and check every side of the frame during installation, not just at the end. Adjust with shims as you go, and confirm the door operates smoothly before fastening anything permanently.
3. Improper Shimming
Shims fill the space between the door frame and the rough opening, and they hold the frame in position. Too few, poorly placed, or overtightened shims are among the leading causes of warped frames and sticking doors.
Common shimming errors:
- Not placing shims behind every hinge and strike plate location
- Over-driving screws, which bows the jamb inward
- Using compressible materials that shrink or rot over time
The fix: Place shims in pairs at each hinge and latch point, and use solid, moisture-resistant shims. Tighten fasteners gradually while checking the gaps.
4. Neglecting Flashing and Waterproofing
For exterior doors, water management is critical. Skipping flashing or applying it incorrectly allows moisture to seep behind the frame, causing rot, mold, and costly structural repairs that may not show up until years later.
The fix:
- Install a sloped sill pan beneath the threshold
- Apply flashing tape in the correct overlapping order (bottom first, then the sides, then the top)
- Seal the exterior perimeter with a high-quality, weather-rated sealant
Professional door installation services are trained in these moisture barriers, which are easy to overlook if you’re focused on the door’s appearance.
5. Insufficient Insulation Around the Frame
Even a well-fitted door can leak air if the gap between the frame and the wall isn’t insulated properly. This hidden gap is a major source of drafts and wasted energy.
Mistakes to avoid:
- Leaving the cavity empty
- Overfilling with standard expanding foam, which can push the jamb out of alignment
- Stuffing in fiberglass so tightly that it loses its insulating value
The fix: Use low-expansion foam made for windows and doors, or loosely packed insulation, and apply it in thin layers.
6. Choosing the Wrong Door for the Location
Not every door suits every opening. A door that isn’t rated for its environment will wear out faster and let in more air.
Consider:
- Climate: Cold regions need well-insulated doors with tight seals. Humid areas need materials that resist swelling.
- Exposure: Doors facing direct sun or driving rain need more durable finishes.
- Function: Entry doors, patio doors, and interior doors have very different performance requirements.
When you’re planning a door replacement, choosing the right material, core, and glazing for your specific conditions makes a big difference in long-term performance.
7. Ignoring Threshold and Weatherstripping Details
The threshold and weatherstripping are your door’s first defense against drafts. Installing them incorrectly, or reusing worn ones during a replacement, defeats the purpose of a new door.
Watch for:
- Thresholds set too high or too low, leaving a gap under the door
- Weatherstripping that is twisted, stretched, or not fully compressed when the door closes
- Sweeps that drag on the floor or hover above it
The fix: Adjust the threshold height so the sweep makes light, even contact, and check that the weatherstripping compresses evenly all the way around. A simple test is to close the door on a piece of paper. If it slides out easily, the seal needs work.
8. Rushing Hardware Installation
Hinges, strike plates, and locksets need to be precisely aligned. Rushing this step causes doors that stick, latches that won’t catch, and security weaknesses.
Common hardware mistakes:
- Using short screws that don’t reach the framing
- Misaligned strike plates
- Hinges set too deep or too shallow in their mortises
The fix: Use 3-inch screws on at least one hinge per door to anchor into the wall stud, and test the latch and lock repeatedly before finishing the trim.
9. Skipping the Final Inspection
Many drafts and repairs could be avoided with a thorough final check. Before calling the job done, verify that:
- The door opens and closes smoothly without rubbing
- Gaps are even on all sides
- The latch and deadbolt engage easily
- There’s no visible daylight around the frame
- All sealant and flashing are complete
10. Attempting a Complex Job Without Experience
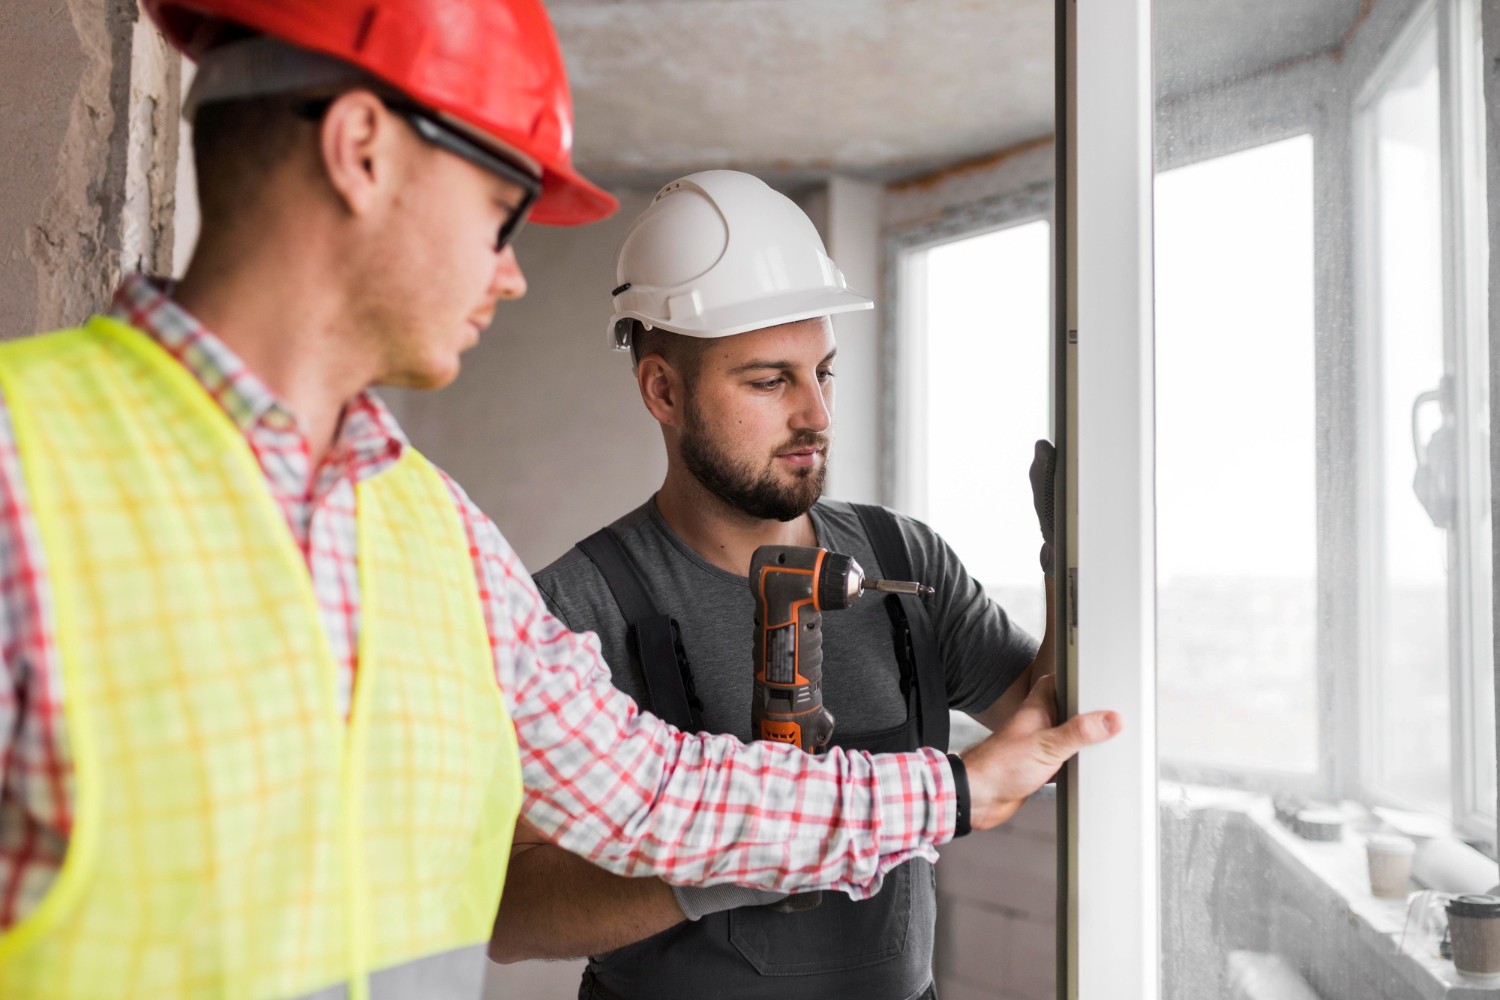
DIY door replacement can be rewarding, but it’s more technical than it looks. Heavy doors, tricky flashing, and precise alignment all leave little room for error. If something goes wrong, you may end up paying for repairs and a reinstall.
Hiring experienced door installation services helps ensure the job is done right the first time, with proper warranty coverage. Professionals also spot problems you might not see, such as hidden water damage or a compromised sill.
The Bottom Line
Most door problems come from installation errors, not manufacturing defects. Precise measurements, a level and plumb frame, proper shimming, effective waterproofing, and good insulation are what separate a door that lasts decades from one that causes headaches within a year.
Whether you’re planning a basic door replacement, exploring custom door services for an unusual opening, or comparing door installation services, prioritizing quality workmanship will save you money, improve comfort, and protect your home.
Ready to upgrade your entryway? Contact Arcana today for a free consultation and make sure your next door is installed correctly from the start. Partner with Arcana and see Life Better Framed.